It has been over a year since I last wrote about and shared how the magic of podcasting goes down at Casa de EX. A lot has changed since then, but I just have not gotten around to writing up a new version. Our buddies over at the Unofficial One Piece Podcast asked the other day what we were using for a mixer, and when I pointed over to that blog entry, I realized just how out-of-date it was!
So here we go. I am happy to present to you the ~2010ver.~ of “My Podcasting Setup“. As always, I do not claim to actually know what I am talking about. I am probably wrong with much of what I do, and writing about how I accomplish it is most likely only perpetuating bad habits and sharing mis-information.
Oh, well.
I have killed two computers over the course of doing the show for Daizenshuu EX. First I blew the sound card in our Shuttle, and then its power supply died. Both are easy fixes, but it just sits over there on the other desk because I have been too lazy to open it up. Once that went down, I shifted over to using Meri’s old desktop from ~2000/2001 as a secondary recording rig. I tossed Ubuntu on it, and as described in the prior article, I used it to line-out for a dedicated Skype track recording.
All that is old hat.
Over on the Mac, Jeff uses a great application called Übercaster to record us locally and any extra, isolated audio tracks (such as Skype, bumper music, etc.). I’m running a standard ol’ Windows XP install both on my desktop and my laptop, and I have gone with a little Skype plug-in called Call Graph. It just works. When running alongside Skype, it automatically records the entirety of a call once one begins, recording your own audio in the left channel, and the other side (be it a single person or a conference call) in the right channel, spitting out a stereo WAV (or MP3) the instant you conclude the call.
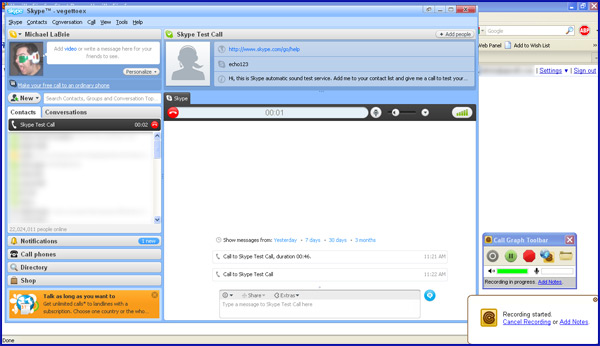
Near as I can tell, though, it only records at 11 kHz — even if you tell it to record a 44 kHz MP3, it still records an 11 kHz WAV which it then converts to a 44 kHz MP3. This… is mostly serviceable. When you have folks like Julian who are just running a standard Logitech headset, anyway, the frequency of the audio file is not really taking much more of a hit than it already is due to the hardware. When we are done recording, I take the WAV into Audacity, split the stereo audio track, delete the left channel (myself), tell the right channel (Julian) to act as mono, and export the new, entirely-isolated audio track. Voilà.
(If I am recording with someone who knows what they are doing, I sometimes just have them record locally on their own end and send me their final audio once we are done recording… though I always am recording a back-up just in case.)
What about my own, local track, though? That I do not allow Call Graph to handle — I still record in Audacity at my standard mono, 44 kHz dedicated audio track. The two tracks (my own local track + Skype track) are easy enough to line up in Audacity for editing later on, either through a “1, 2, 3, clap!” or just from doing this for five years and understanding how a conversation is supposed to sound.
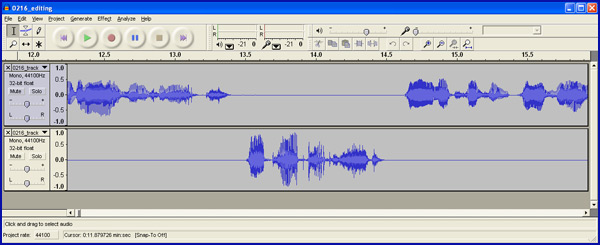
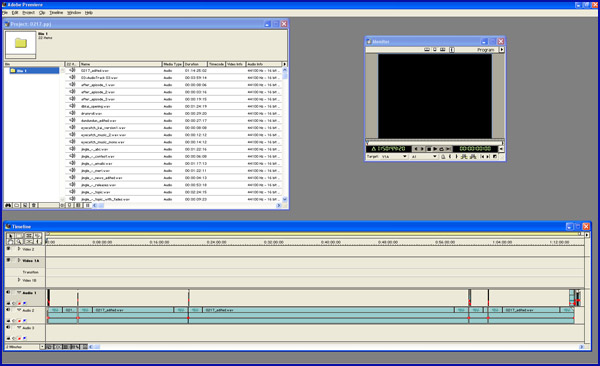
I still use a combination of Levelator and Audacity’s built-in noise removal for my post-processing — nothing special there. I am also stuck in my own ways by using Adobe Premiere to line up the segments with their respective bumper music tracks for the final mixing and export. I just really like the block-based dragging and snapping for that final step, I guess.
With that in mind, though, let us turn back over to the hardware.
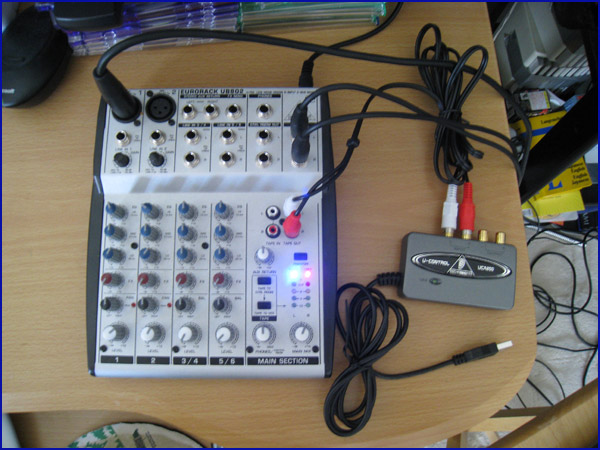
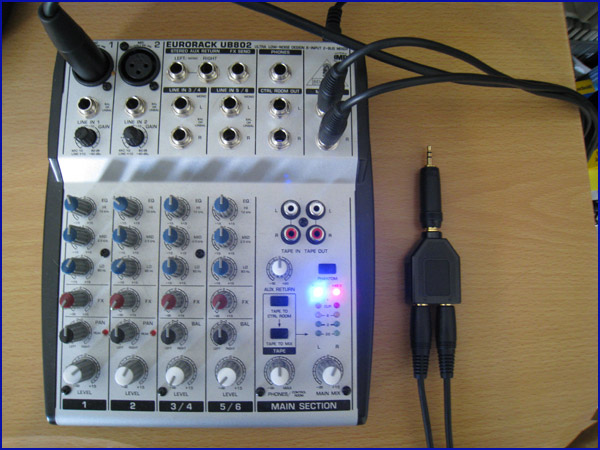
The driving force behind everything is still my Behringer Eurorack UB802 (~$50-60) mixer. It is a great, compact little guy with two XLR inputs, phantom power support, decent gain/volume control, plenty of line-in and out support, etc. The UB802 seems to go through phases of being available versus unavailable, but the standard Behringer 802 (~$60) is something I picked up for Jeff over the last holiday season, and it is essentially identical to my own.
The main difference these days is that I have indeed jumped over to using a USB device to grab out the audio, rather than running an analog RCA-to-1/8-inch line-in cable. The Behringer U-Control UCA-200 actually came with the (larger) mixer that I use at work. It is their standard pack-in version with mixers, but the stand-alone UCA-202 (~$30-35) is what you will typically see for purchase online. I had spoken before about how the device takes over as the entire sound device for the computer — for example, I was unable to listen to the audio I just recorded through my headphones while it was plugged in. Once I stopped being an idiot and looked around a bit, I found that I could tell Audacity to still use the internal sound card for playback and use the U-Control device for recording, allowing me the same convenient usage I had always experienced.
For any recording where we need more than two local microphones (such as a “Manga Review of Awesomeness” or something for vgconvos), I no longer daisy-chain the RadioShack mixer into the Behringer. Instead, I have Jeff bring over his 802 and daisy-chain that into my mixer. We use the same process of RCA cables going from “Tape Out” on his to “Tape In” on mine that would have been used from the old RadioShack mixer, but now it is done with higher-quality equipment. It still introduces extra analog noise that I would rather not have to deal with, however. I have my eyes set on the Mackie 1202-VLZ3 (~$300) mixer with its four XLR inputs and non-Behringer, genuinely-high-quality parts. Behringer stuff is “OK”, but I have had a few issues here and there with the mixers to the point where I probably will not buy their stuff again.
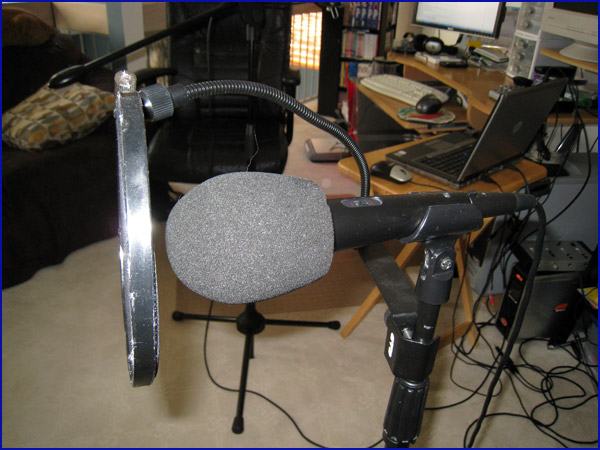
Over on the microphone side, things are still pretty much the same… with the exception of what holds it for me. I am personally still rocking the MXL 990 condenser microphone (~$50-70), though these days it is supported by a boom stand. I am fairly certain it is the Samson BL3 (~$30), due to it not coming with a mic clip… but I no longer have the box to double-check that. Whoops. Sorry. The MXL 990 is just a tad bit heavy for it, but adjusting the three-legged support and balance of the boom extension will grant you just the right placement for comfort and not-falling-over-ness.
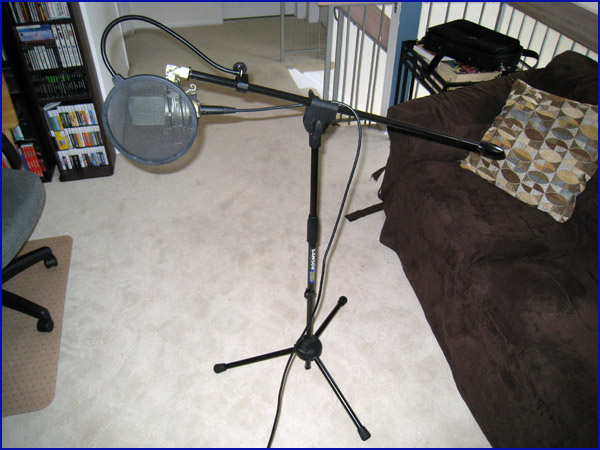
The main reason that the microphone is hanging on its side is because I accidentally stripped the screw-tightening mechanism for the shockmount, and have not felt like spending the money for the replacement MXL-90 shockmount (~$35) just yet. When you can buy the microphone (which itself comes with a shockmount) for just a couple bucks more, it is difficult to build up the desire to spend money to replace one that is just hanging on its side and not entirely broken.
Meri is still rocking the Shure 8900 dynamic microphone ($50). It is quite the handy mic to have around, since its included XLR-to-1/8-inch audio cable plugs in to the video camera I use at work, giving me a choice of a either a lapel mic or a hand-held mic. I double-wind-screen for Meri since her “pphf” sounds are a little harsher than my own. She is also still rocking the RadioShack “Heavy Duty Microphone Stand with Cast-Iron Base” (~$30), though it may be time to upgrade her to the Samson boom stand — they are just so nice to have! Comfort galore!
I guess the last thing to address is live recording and broadcasting that we occasionally do. Lately we have been using Stickam for no particular reason above any other service. We tend to broadcast Lo-Fidelity live more than anything else, mainly because it is just the two of us in one local recording area, so anything that happens can be broadcast with no extra effort — everything is right there in one place. When you start tying in things like Skype streams… sure, it can be done, but it requires more effort than it is really worth for such a budget setup like our own. Live recordings typically have two computers: one is a standard podcasting station like any other show, and the second is usually my laptop running the webcam. Our mixers have the “Tape Out” / RCA output that we typically use to output to the computer, but there is also the “Main Out” — I run a variety of cables and cord adapters to get that 1/4-inch stereo output down to an 1/8-inch plug. This runs to the line-in on my laptop, mirroring the exact same sound that is otherwise heading out to another computer for the main podcast recording. Sure, there is some (negligible) extra noise being introduced/lost going through all those adapters, but since that particular stream of audio is exclusively going to the live broadcast (and not the archived version for editing/release), it is not that big of a deal.
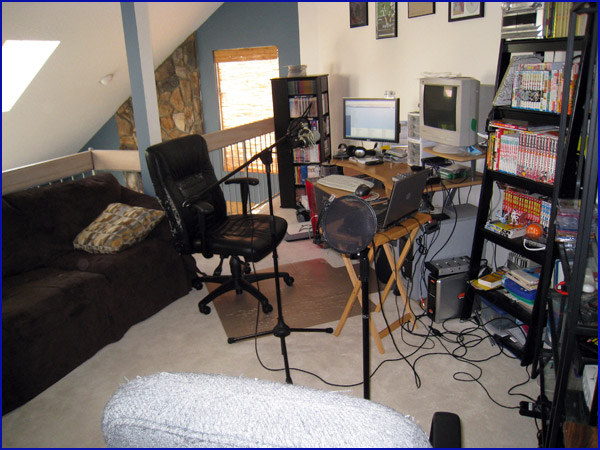
The next upgrade is going to be the room in which we record. Since moving into the new house, all recording has been done up in our loft. This is where we keep the computers, the old TV, CDs, DVDs, etc. It is a fantastic location (minus all the cat destruction, like my poor chair), but it is in a very open area. Sound bounces all over the place. When we have any more than two people, it starts sounding very “airy” in the recording, both due to the number of people (and thus the number of mics to adjust and compensate for) and the voices bouncing along the ceiling and down to the living room.
We have a finished basement with several rooms. Right now, “the brown room” (which is the second room off the main area) is a disaster of storage space. Boxes, appliances, and assorted things of nothingness take up all the space. It is perfect for a little recording studio, though. It is just the right size, the walls are not tall, the door can be shut… lovely!
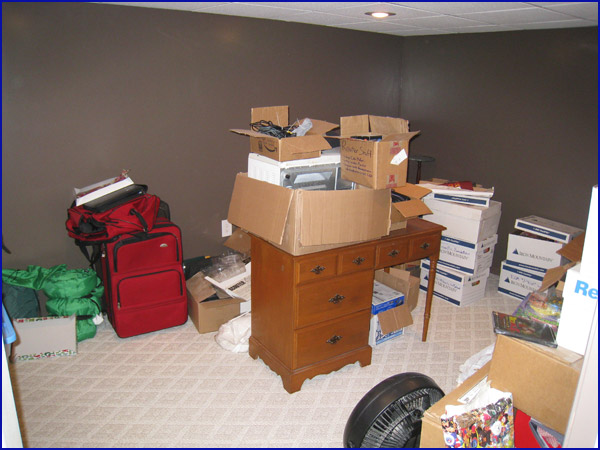
Our Wi-Fi reaches down there, and since an entire show can be done with just one computer, there is nothing stopping me now from cleaning up that space and creating a great little recording studio in my basement. I might even get some extra sound-proofing padding for the walls… can you imagine how hot looking that place is going to be?! Speaking of “hot”, that is another perk to setting up shop in the basement — heat rises, and our loft starts boiling in the summer. The basement? Cool as can be!
I think that more-or-less covers how everything is rolling right now. Does anyone have any questions about any aspect, or better yet, suggestions on ways to do things even better? Specific articles to read to bolster some mad audio skillz? I still consider myself a total audio n00b, though I think I have a couple other skills that I have picked up over the last couple years that at least helps put together some decent shows…!
Leave a Reply